As I write this post I have just started using Microsoft Bookings. As an IT professional, having the ability for a client to visit my Bookings page and put an appointment in my diary is a great way of avoiding the usual back and forth via email to pin down a mutually convenient time. Out of the box, Bookings offers a good deal of flexibility, including the option of adding ‘buffer time’ to allow for preparation, travel between appointments, avoiding back to back appointments etc. However, as noted by many here Calendar time vs Buffer time - Microsoft Community Hub, this feature is flawed: The first appointment that was created by the system resulted in me ringing my client 30 minutes early, because the buffer time set simply extends the event in the calendar; the reminder pops up and then I must remember to ring my client 30 minutes later. The ‘time with client’ is buried in the event notes. Not great …
A workaround using Microsoft Power Automate
By leveraging Power Automate, we can create a flow that automatically adds a ‘buffer time’ event around the booking, ensuring that reminders and scheduling reflect the actual appointment times, not the buffer periods. Here’s how:
Step 1: Add the Power Automate integration to Microsoft Bookings
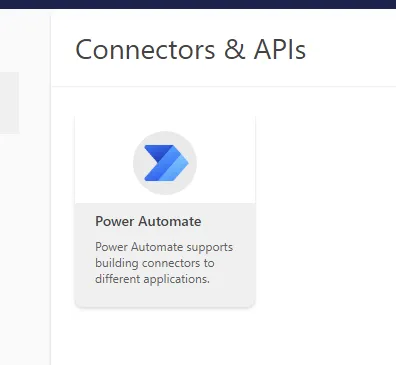
Turn off your buffer time for all services in Microsoft Bookings and click the Integrations button in the sidebar:

As of writing, this is the only integration offered:
then click ‘Go to Setup’:

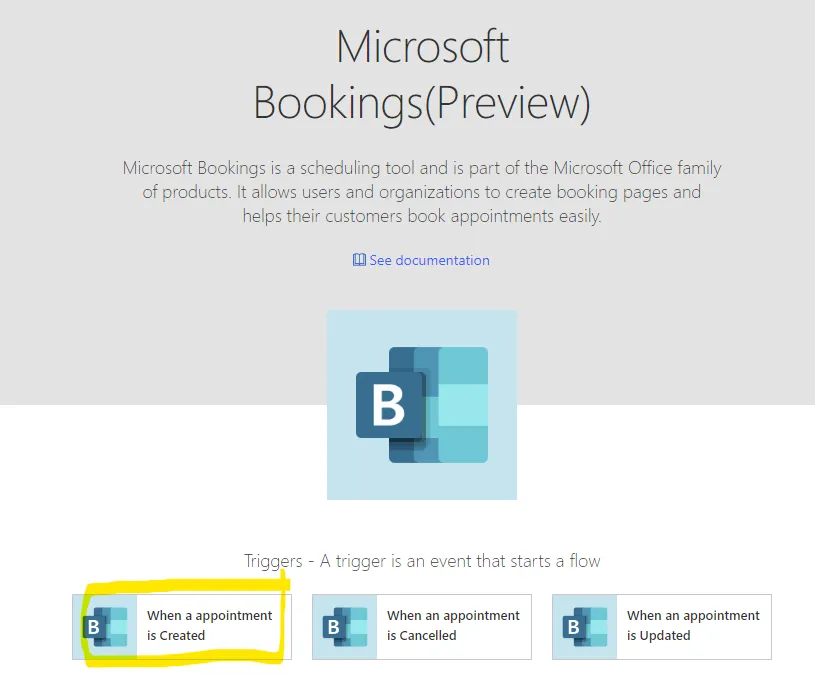
Step 2: Create the trigger
We want our flow to trigger when a new appointment is created:
You should then be presented with Power Automate’s design grid with a sole trigger event ‘When a appointment is Created’ (spot the grammatical errors!). There will be an alarming ‘Invalid parameters’ warning. Just click it:
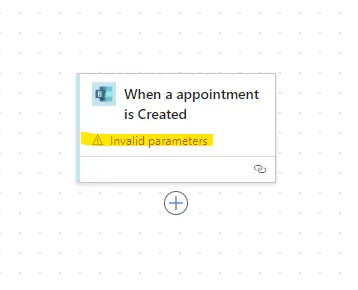
Using the dropdown, select the appropriate booking page. When an appointment is made using this Bookings page, it will trigger your flow automation. I only have one setup in this example.

Step 3: Calculate buffer times
In this step we are going to create two calculated variables that will define the start and end time of our buffer appointment. In my example, I am using a pre and post meeting buffer time of 30 minutes.
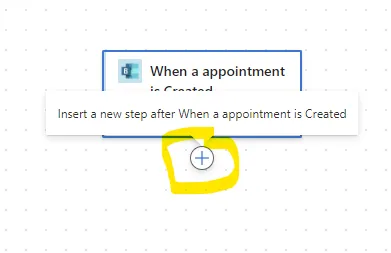
First, click the plus button directly below your trigger in the flow grid:
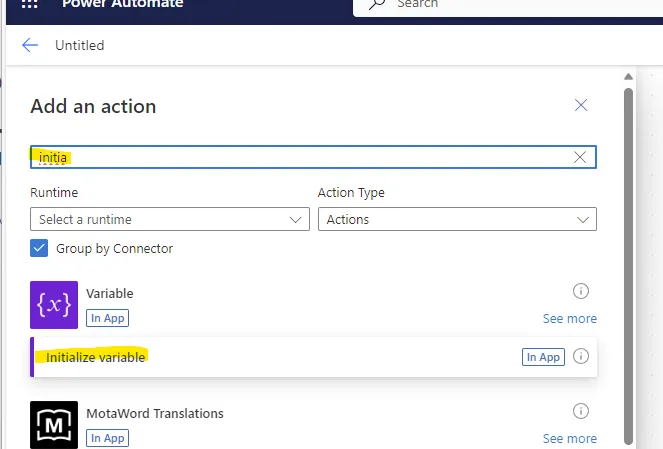
In the left hand flyout, search for ‘initialize variable’ and click it:
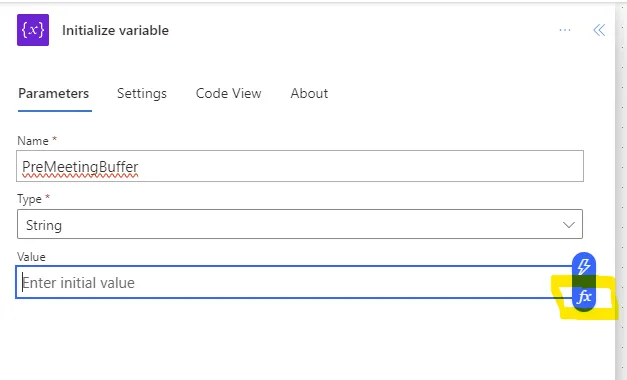
Under the parameters tab, enter PreMeetingBuffer under Name, use the dropdown to select String under Type and next to Value, click the fx button:
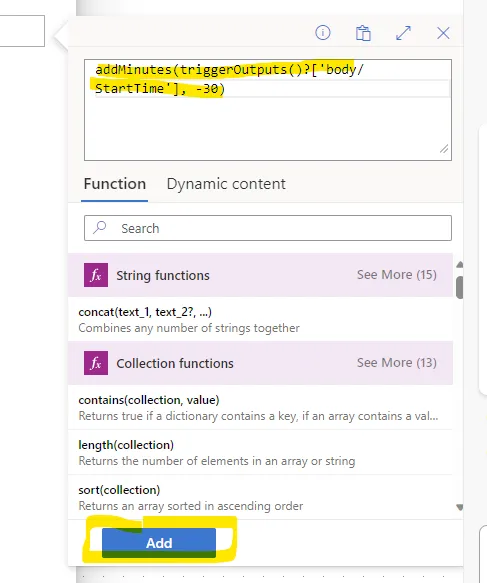
And copy and paste the following code. We are using the addMinutes function to subtract 30 minutes from the start time of the appointment that triggered the flow:
addMinutes(triggerOutputs()?['body/StartTime'], -30)Now click Add:
You now need to add another variable, following the steps above, this time clicking the plus sign under the newly appeared ‘Initialize variable’ action. Call this new variable PostMeetingBuffer and use the following function to calculate the end of our buffer appointment:
addMinutes(triggerOutputs()?['body/EndTime'], 30)In my example, the buffer appointment will be 30 minutes longer than the triggering event booking.
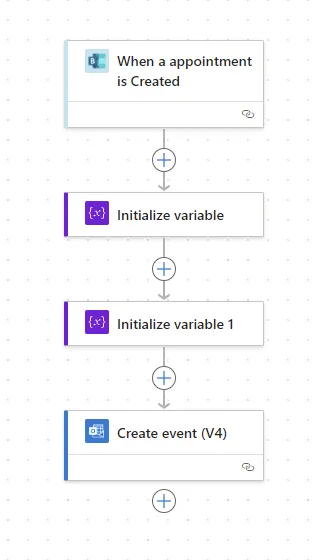
You should now have three objects in your Flow: A trigger and two variables
Step 4: Create a buffer calendar event
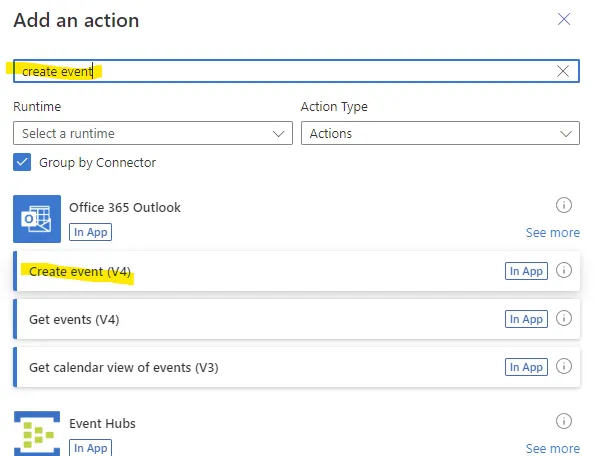
Click the plus sign below the last action you created (the second variable, which should be called Initialize variable 1 by default). In the flyout on the left, search for create event and add it:
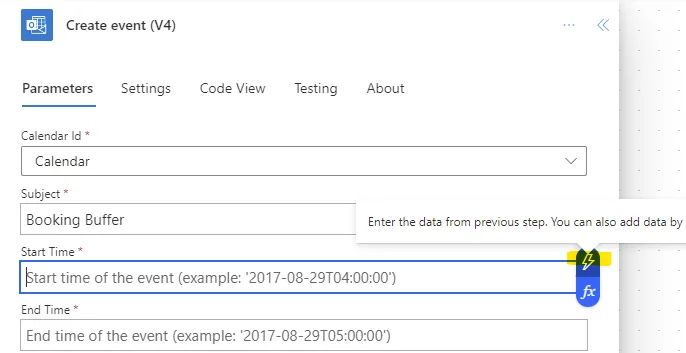
Under the parameters tab, select your calendar from the dropdown (normally just called Calendar) and give it a name under Subject (I’m calling mine Booking Buffer). Click the lightning bolt symbol next to the Start Time:
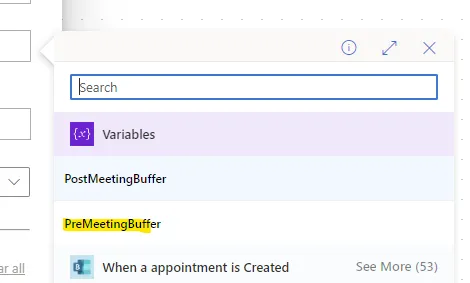
And select the PreMeetingBuffer variable we created earlier:
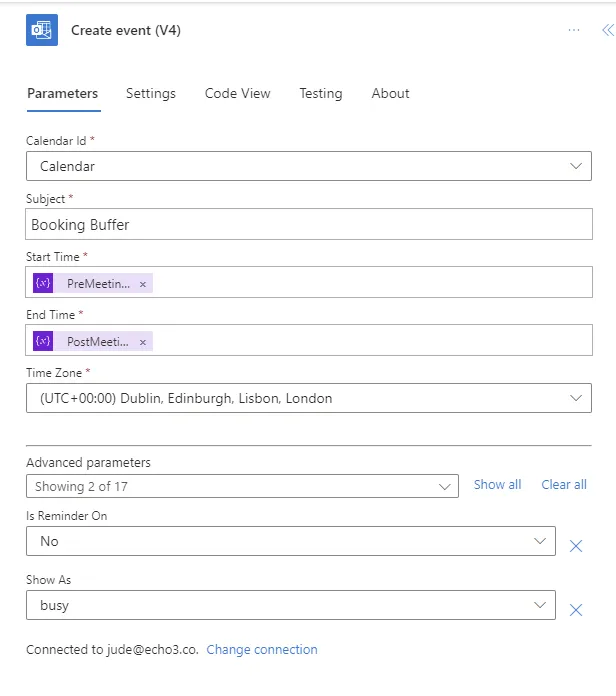
For the End time, select the PostMeetingBuffer variable. Under advanced parameters I’ve also done the following:
- Turned reminders OFF
- Show as Busy (by default any event created using this action would show as available)
In the end, your flow should look like this:
Save your flow and then test it by creating a booking via your Bookings page. You should end up with something like this:
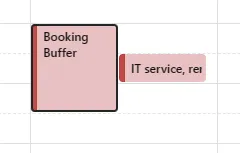
The buffer appointment won’t trigger a reminder (if you configured the advanced parameters above) but it will prevent back to back bookings (make sure you configure the ‘busy’ parameter above) and you will only receive calendar notifications for the actual events generated by your Bookings page.
I haven’t looked at creating flows for deleting or amending these automatically generated buffer events if the original booking is cancelled or amended. Something for another day!
NB: I did try the Copilot AI to help create the flow, but it wasn’t helpful, so I ended up having to use my brain! 🧠